
Direct Input
Use a joystick or gamepad as a direct input device to control the motion platform.
1 Information
In order to use a motion platform with a game or simulation that does not produce any output telemetry for the motion platform to operate with - it is possible to program a gaming controller used to control an in-game vehicle as a input signal generating device. That way gaming device controls both the in-game vehicle and the motion platform or belt tensioner.
2 Setting a joystick/gamepad as an input device
1. Open ForceSeatPM. Scroll down to the bottom and click New profile.
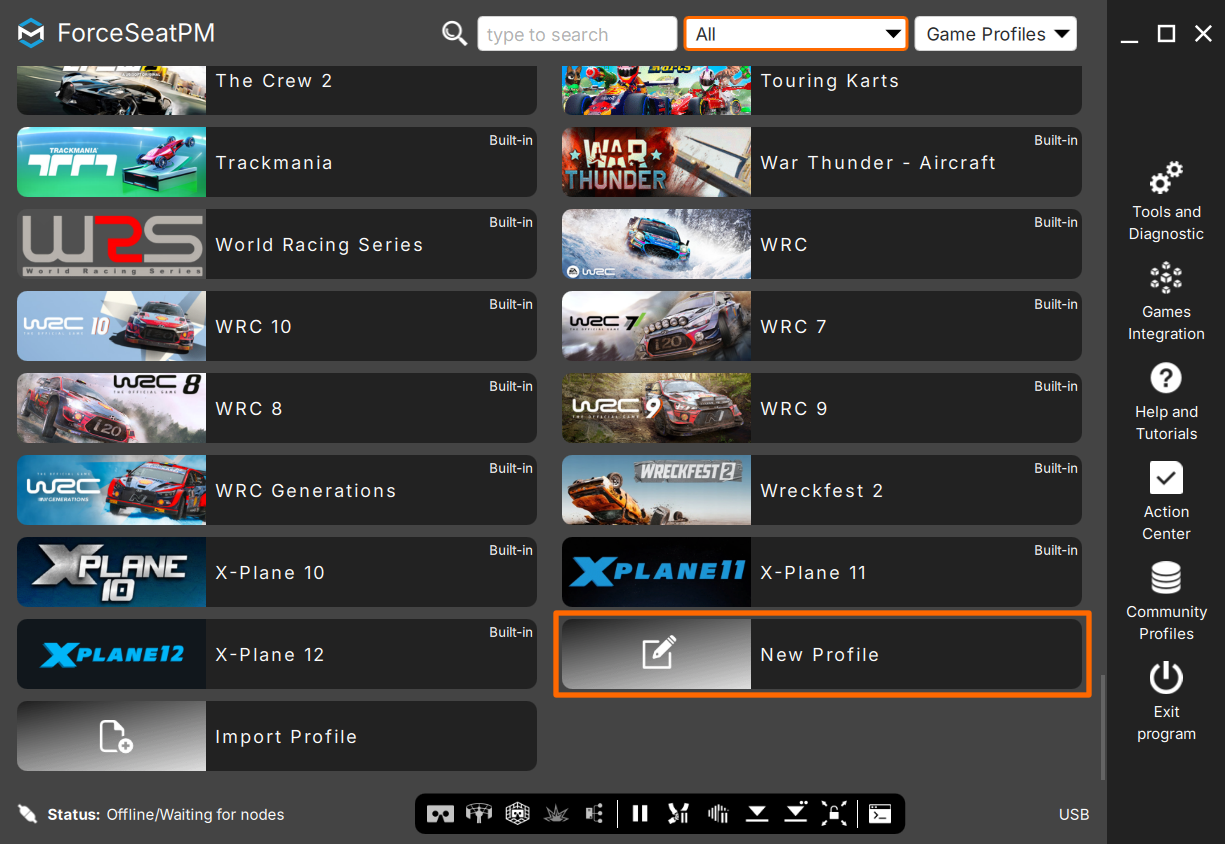
2. Enter the name of the profile and click OK. Your new profile will appear at the top of the profiles list.
3. Configuration window will open (if it does not - find your profile, open it and click Configure).
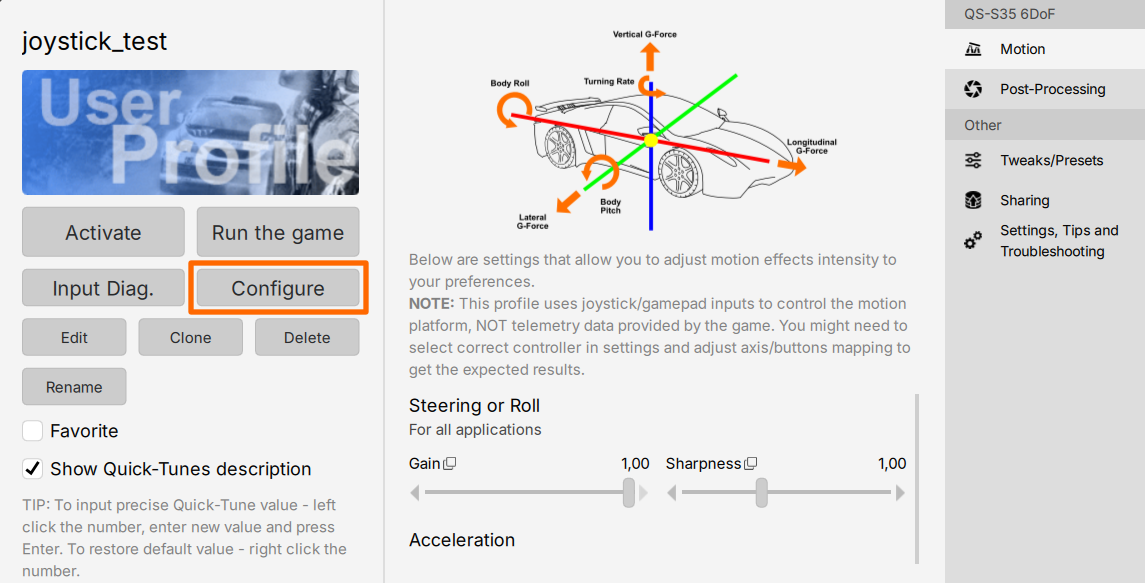
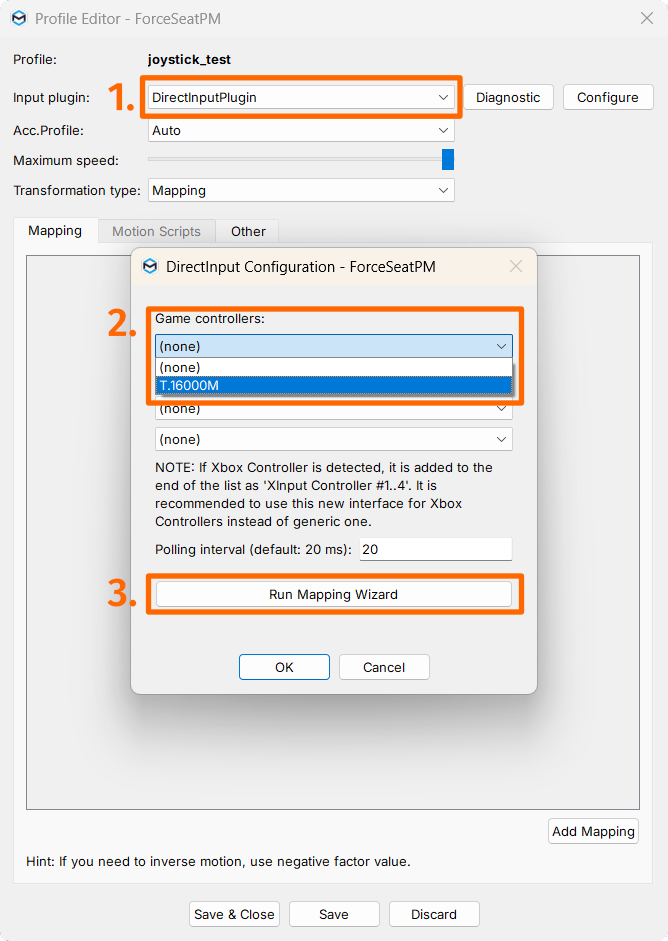
4. In the window make sure DirectInputPlugin is selected (1.). Click Configure.
5. From a first Game controller list (2.) select your input creating device and then Run mapping wizard (3.).
6. Select your intended game type and click Next.
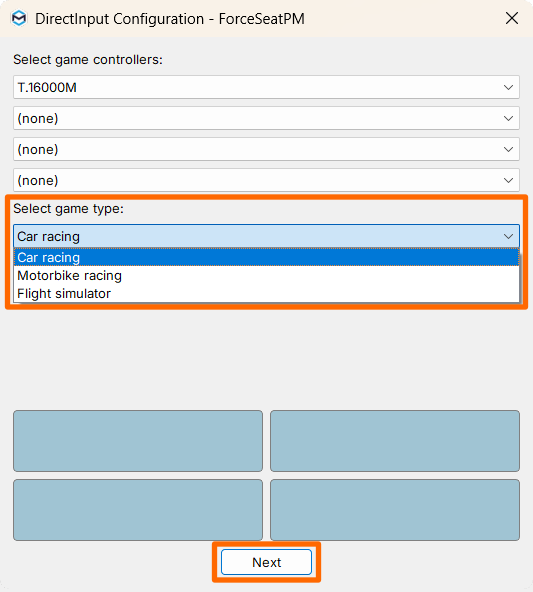
7. Proceed with the mapping wizard instructions. After that, click Done.
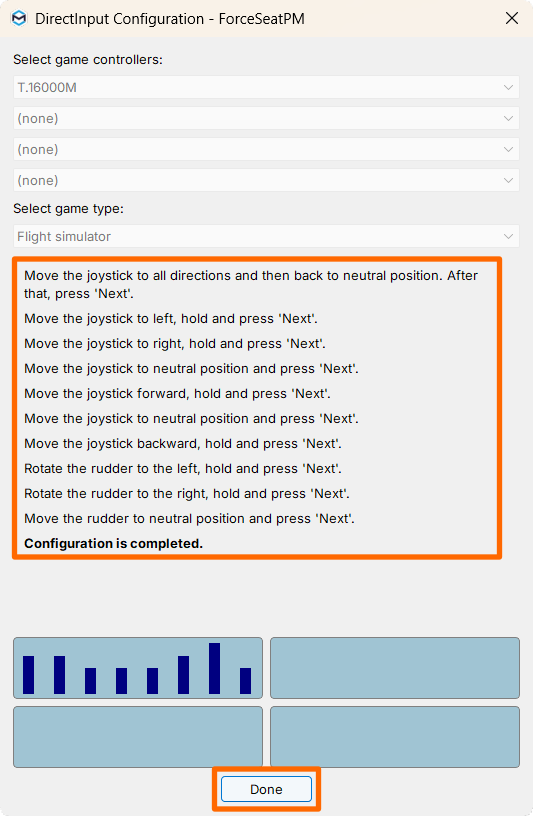
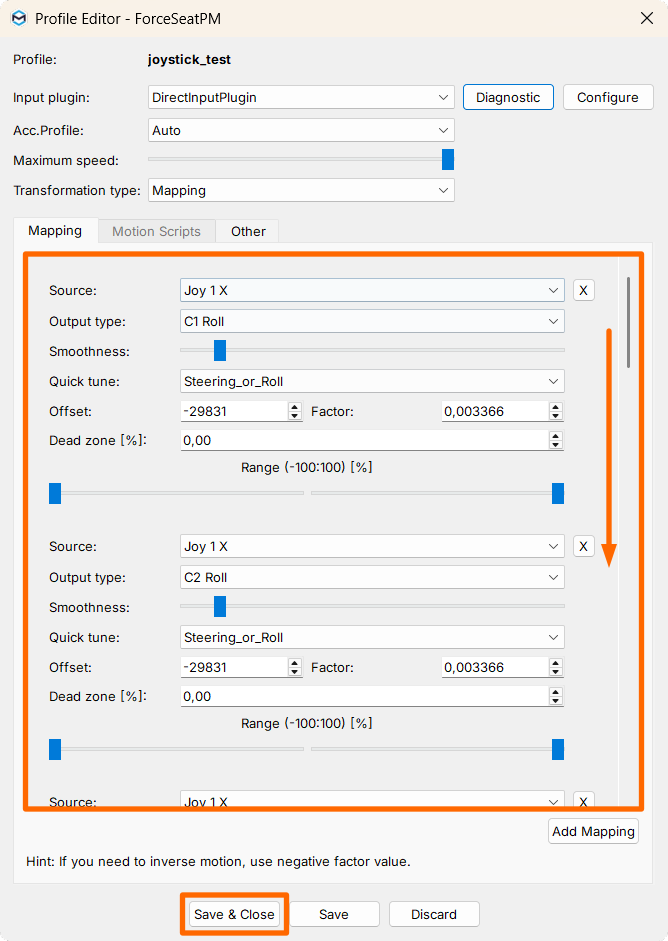
8. All the programmed controller axes will appear. Offset and Factor are values you may need to adjust later to make the QS-BT1 or motion platform perform as desired. Click Save and close.
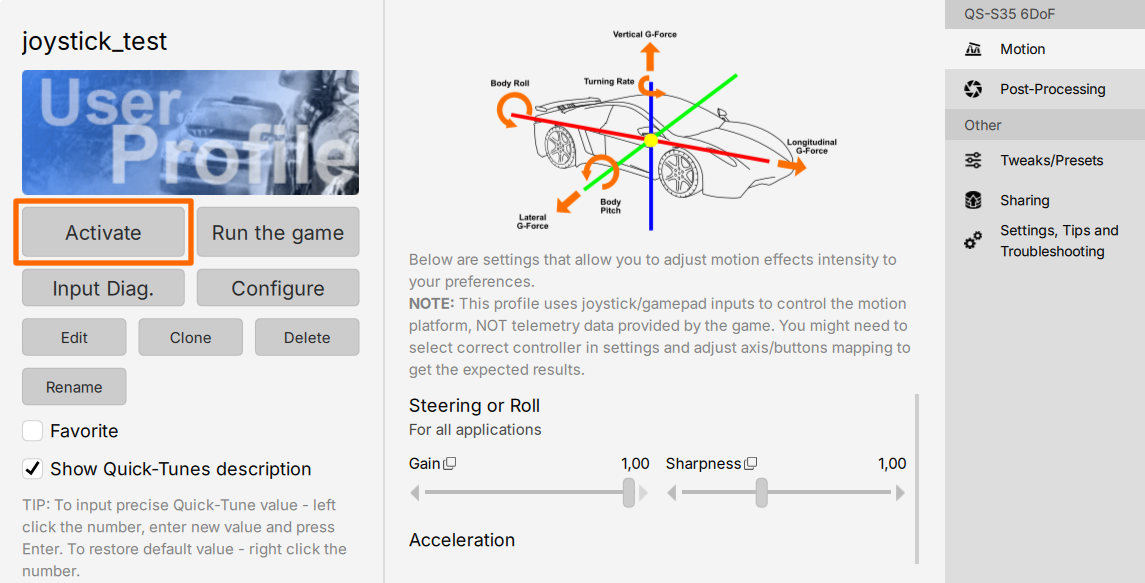
9. Activate freshly created profile - the motion platform will activate and will be ready to operate by the controller.
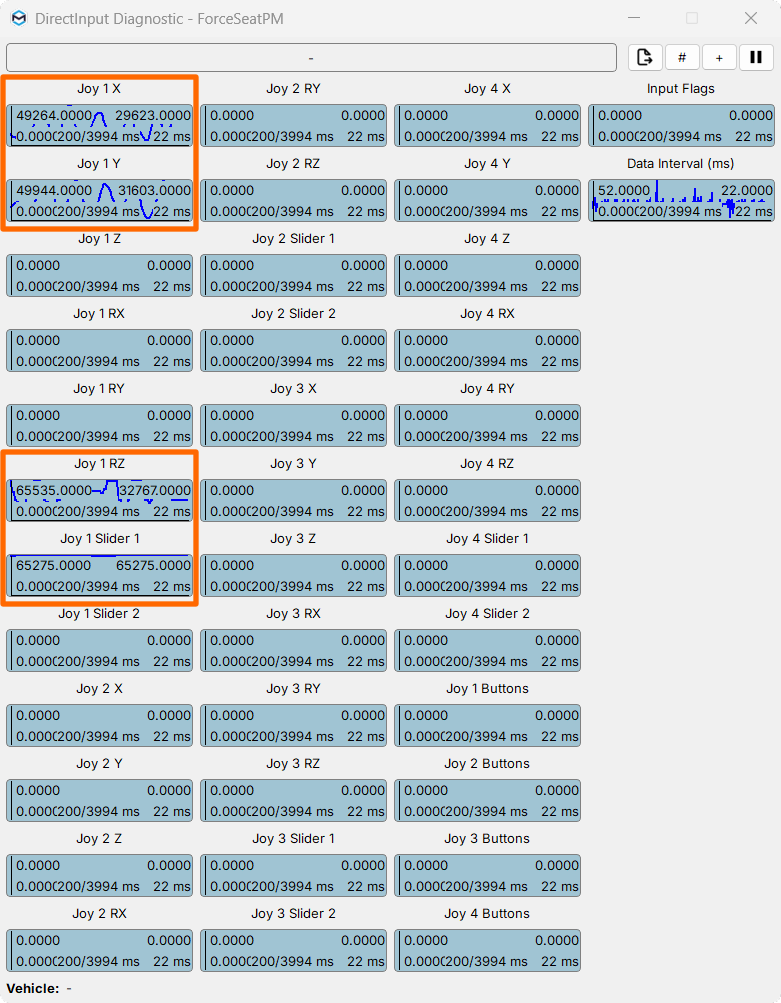
10. You can test if the input controller is working correctly by clicking Input diag. in profile menu and looking for your input in the correct graphs.
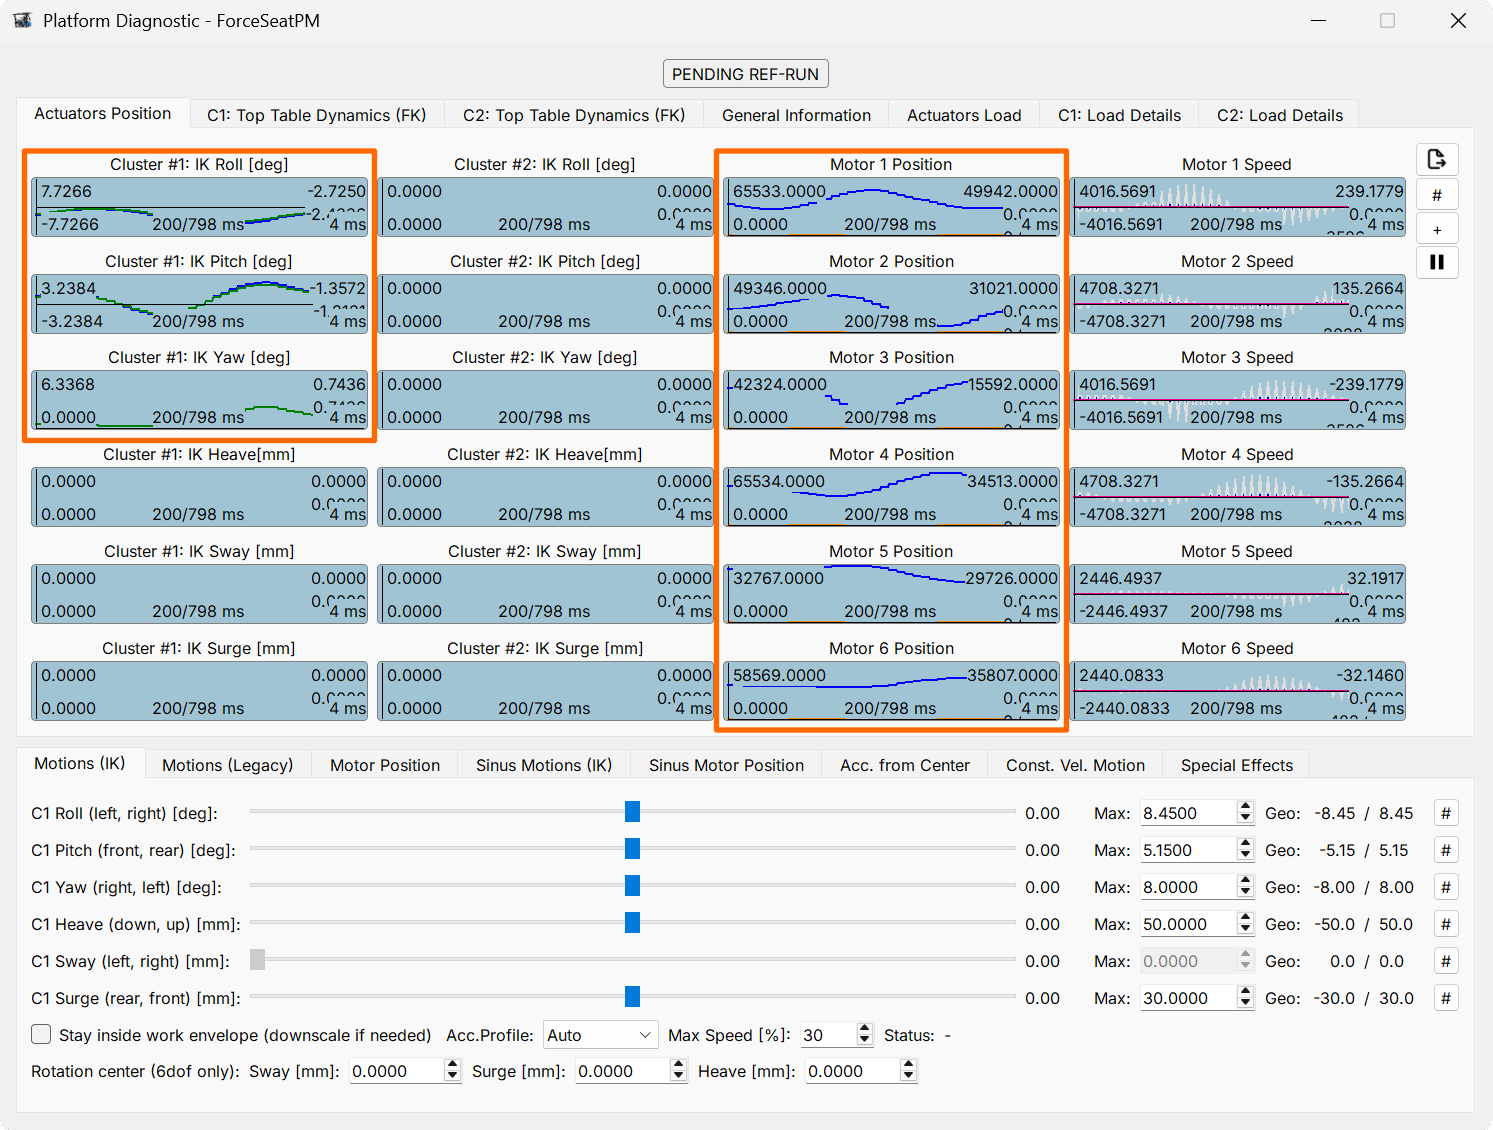
11. You can see the platform reacting on the device's inputs on graph inside the Platform Diagnostics (ForceSeatPM, Tools and Diagnostic, Platform Diagnostic).
3 Tuning the profile
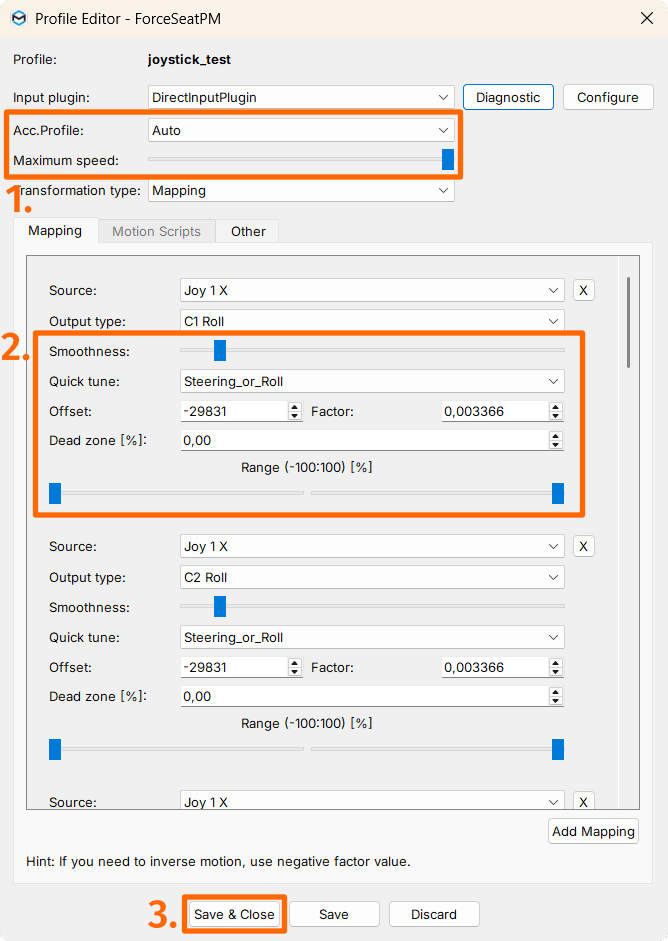
Tuning the profile can be done by clicking the Configure button inside the profile and increasing/decreasing the factor, offset or dead zone value, or range, smoothness slider under a given axis (2.). You can also change the acceleration or maximum speed general slider (1.). Keep in mind that they can be tested right away by using the controller (click Save to apply the changes).
Click Save and close not to lose your adjustments, after you are done (3.).
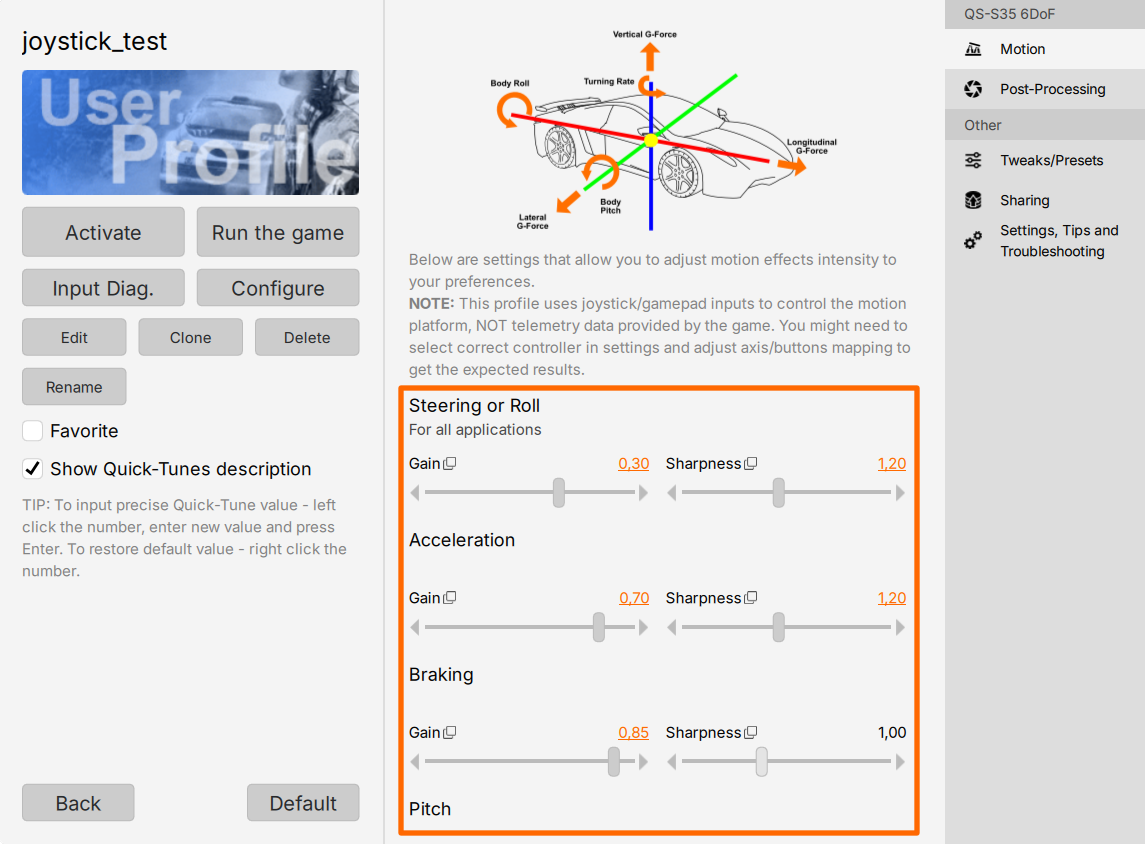
Another way is to use the main sliders in a profile window. Changes are applied immediately.
4 Tips and guidelines
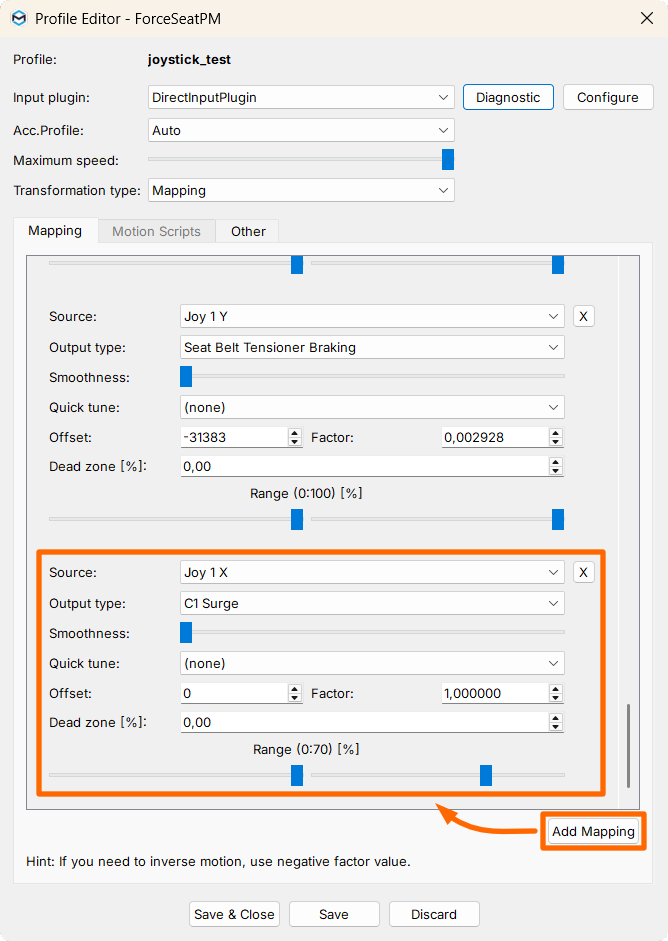
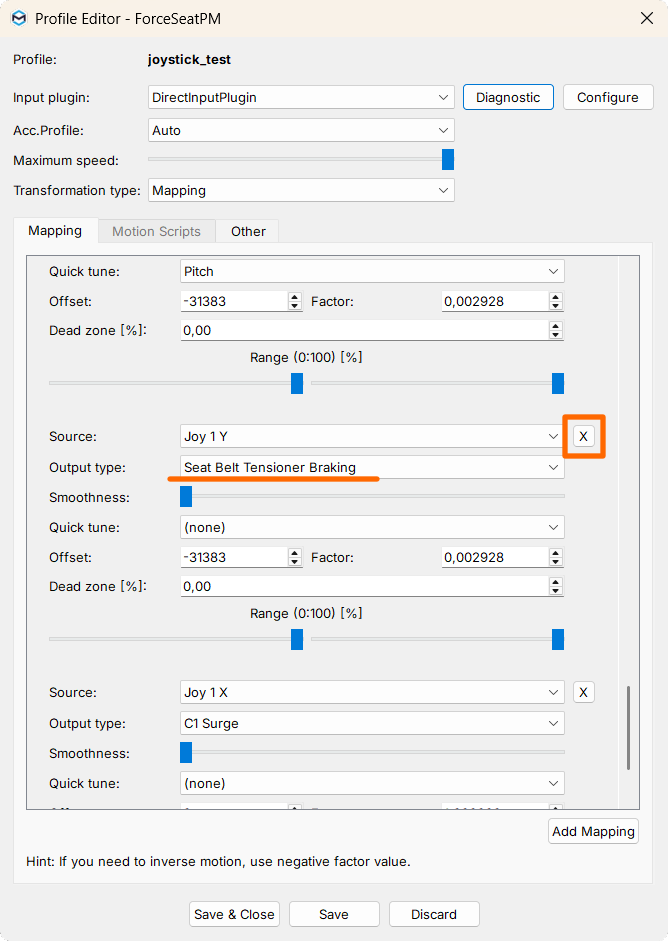
It is possible to add new axes outside of a standard set - click Add mapping and the new axis will appear at the bottom of mapping window. You can create a surge movement for example, to be controlled by a throttle. Set the factor similarly to other axis, smoothness halfway (since surge controlled by a throttle can be very fast) and save the changes.
One profile can control all your motion platforms and QS-BT1 together. If you wish to use only one of these devices - either delete them from a mapping list or pause the device using main QubicManager window buttons at the bottom (they will become active again after a QubicManager restart).
Or disable the QS-BT1 using the icon at the bottom:

Beware of creating new axes (Add mapping button) that could create an axis conflicting with existing one and make the platform perform unpredictably. Never double any axis.