DIY Sim Dashboard
Build a telemetry dashboard display for your sim cockpit using a VoCore screen and ForceSeatPM.
1 Introduction
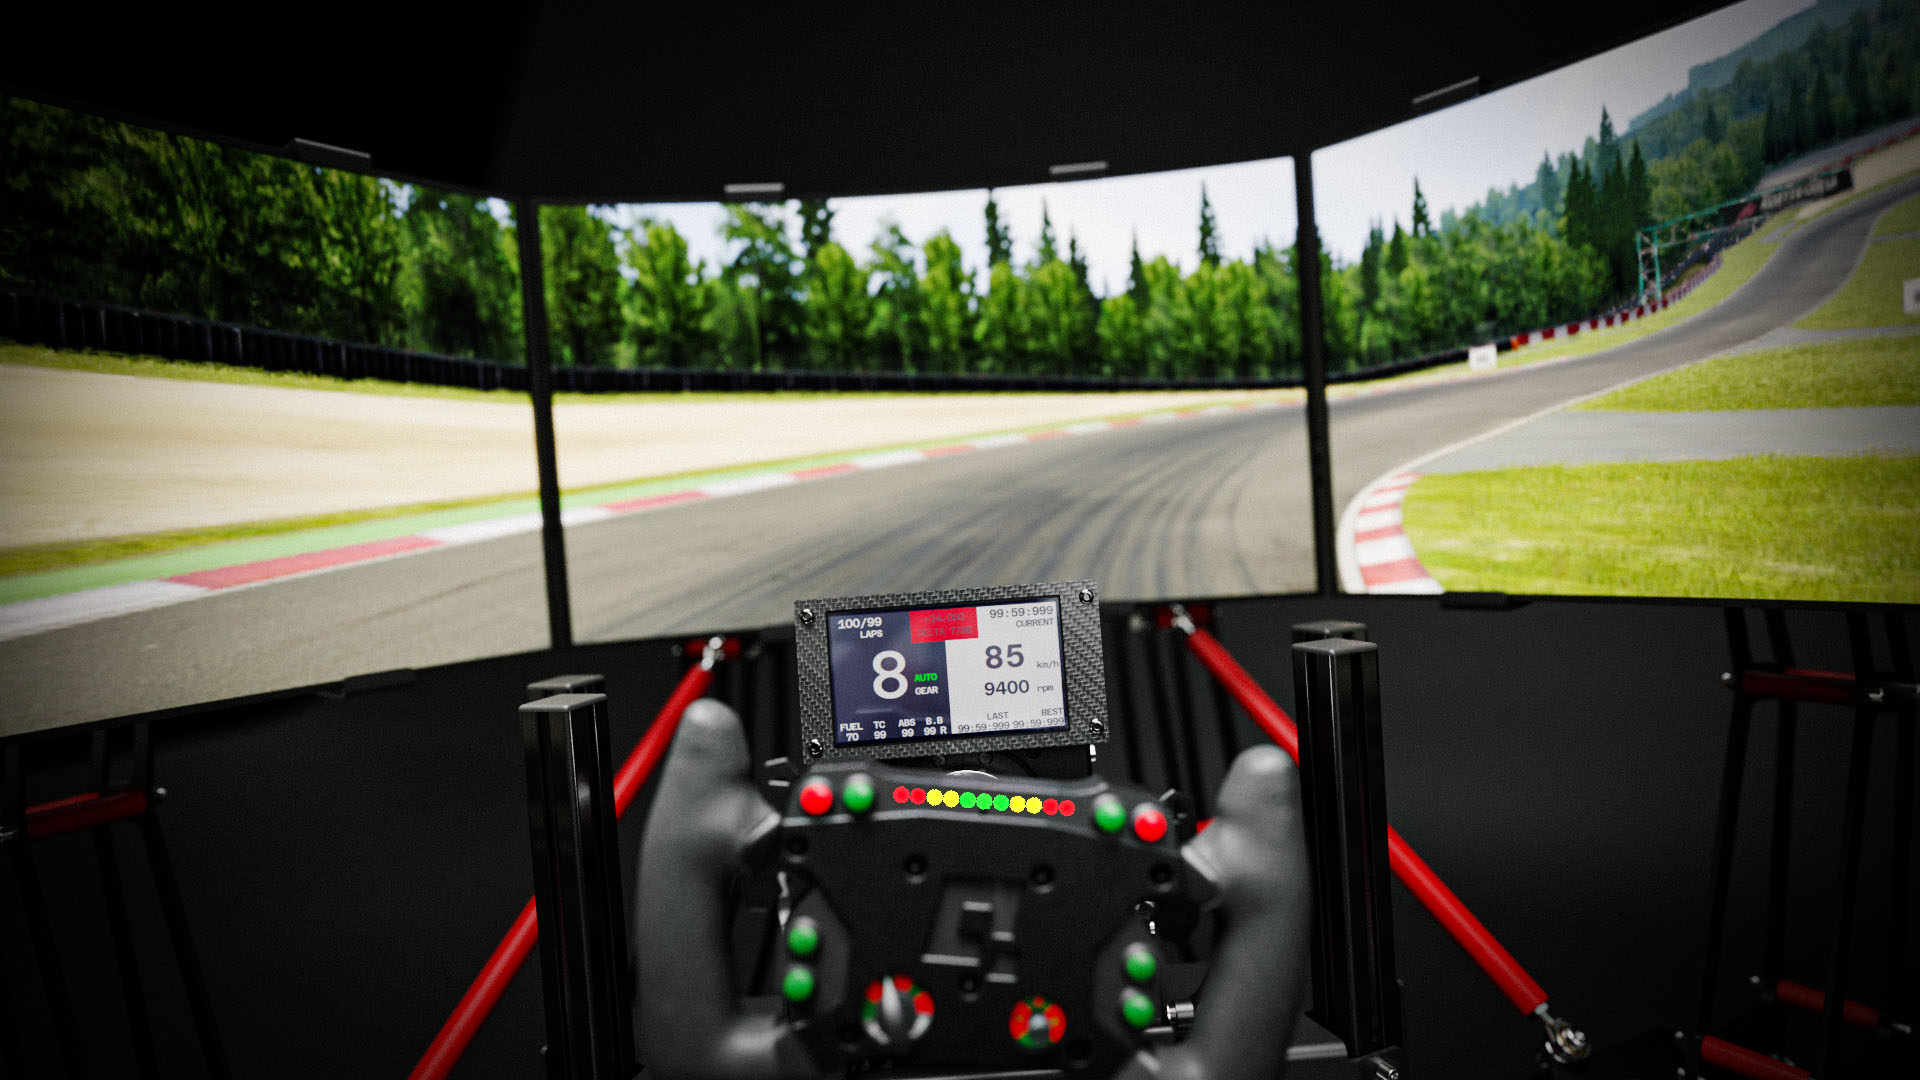
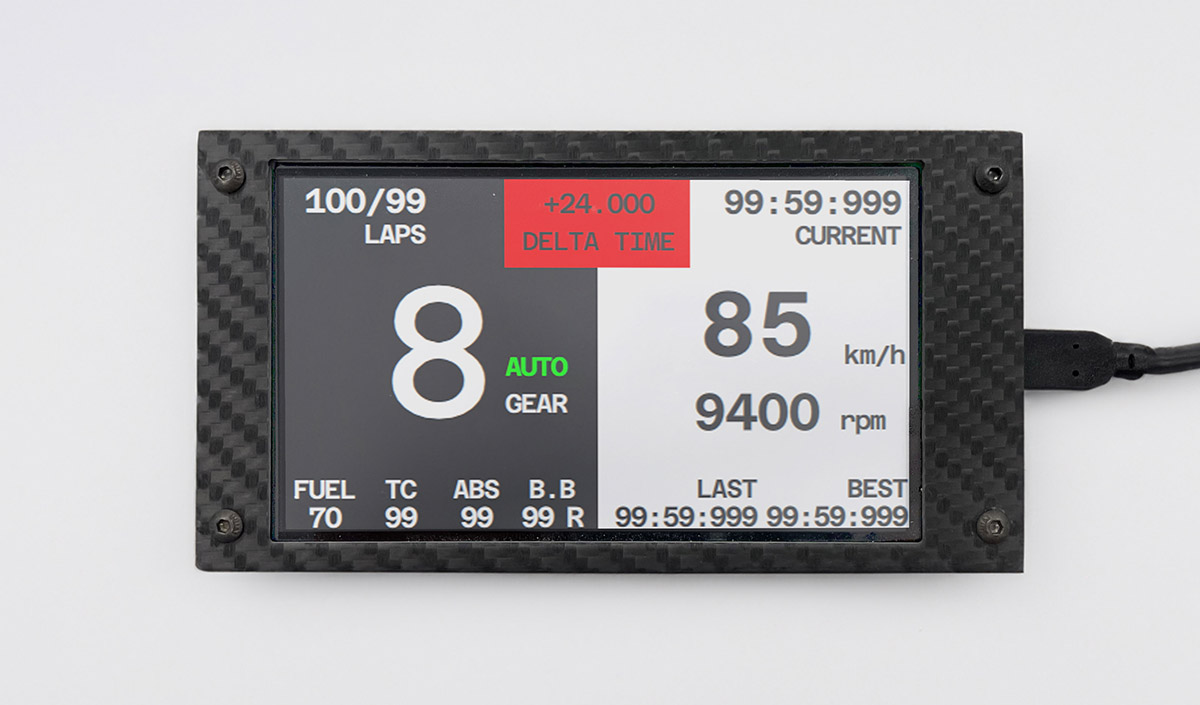
Creating a DIY sim dashboard can be a fun and rewarding project for sim racing enthusiasts. This Qubic System DIY Sim Dashboard tutorial provides a basic overview of the process and some options to consider. From now on you can easily enhance your sim racing immersion by introducing a dashboard display to the cockpit. You can choose between various widely available display models and sizes, and get pre-made adapters for the steering wheel base to attach the display directly to it.
2 Disclaimer
3 Display
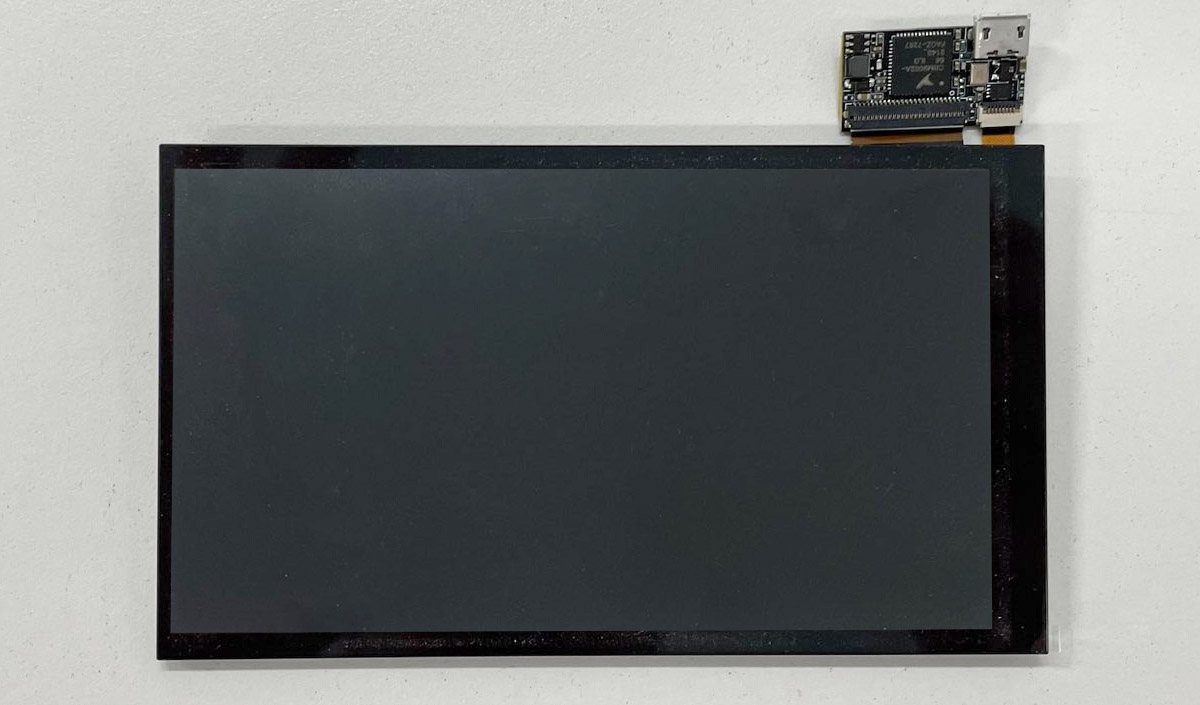
You can choose between a USBD480-based display or a VoCore Screen (e.g. 5"). The latter seems to be more popular recently, and there are 3D-printed brackets available for it.
If your steering wheel rim has an embedded USBD480 or VoCore display, it will work with ForceSeatPM the same way as a standalone display.
You will also need a USB cable, as the one that comes with the display is usually too short.
4 Installation and configuration
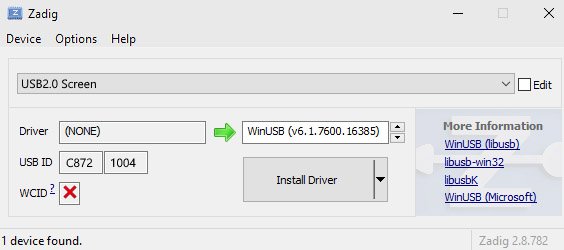
Before you can use the VoCore Screen, a driver needs to be installed. You can download the drivers from our mirror or from the official webpage. After you download and unpack the driver, start zadig.exe and click Install driver. The process will take a few minutes.
Once the display is connected and the drivers are installed, go to ForceSeatPM, then Tools and Diagnostic, Accessories & DIY Configuration, then to the Devices section and enable VoCore Screen.
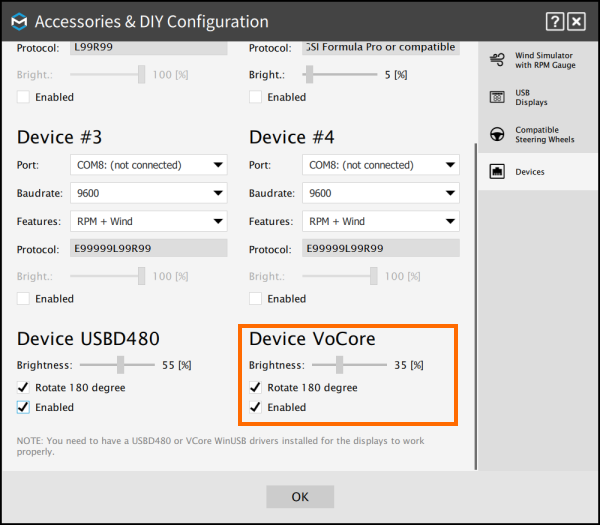
You might need to check Rotate 180 degrees later if your display is upside down, and adjust the Brightness to your preference.
5 Testing with the game
Dashboards are separated from game profiles, as they are related to the vehicle type (GT, F1), not the game title, and it is a typical scenario to use the same dashboard in multiple games.
In order to change the currently used dashboard, switch to the Dashboard view and then click one of the dashboards to activate it.
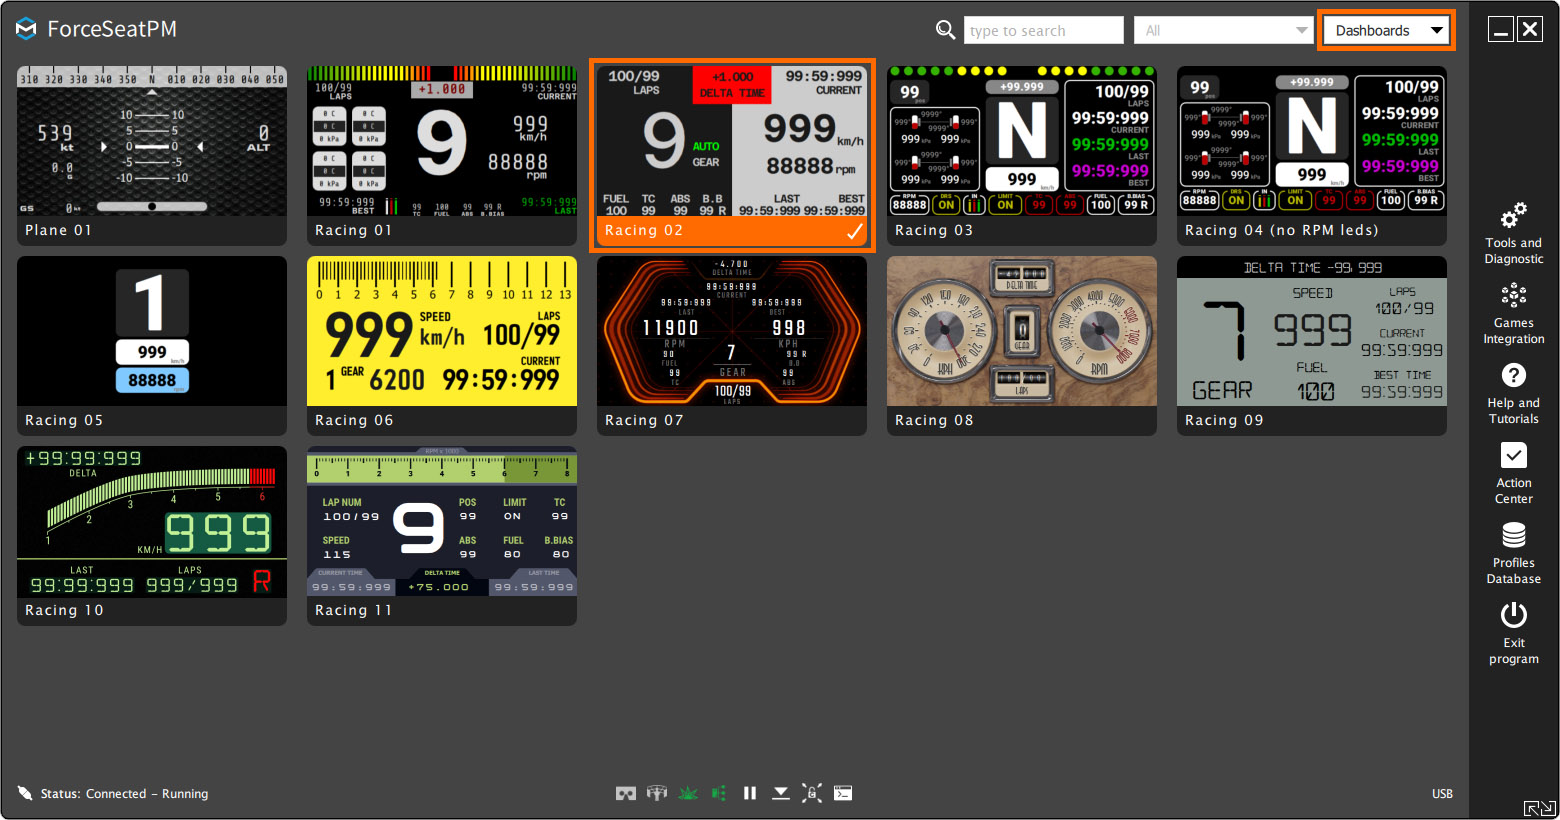
Finally, start the game and go for a ride to see if the dashboard is working correctly.
Once you have confirmed that everything works correctly, the last step is to attach the dashboard permanently to your cockpit or steering wheel base.
6 Final words
If you want to explore additional information about dashboards and the various display options available, you can access a comprehensive guide within ForceSeatPM's built-in Help and Tutorials.
In the event that none of the pre-existing dashboards meet your specific requirements and you prefer to create a customized one, the platform provides a dedicated section called the Dashboards Editor. This feature is designed to empower you to design and tailor a dashboard according to your preferences and needs.