
Dashboard Editor
Create, clone, and edit custom QML-based vehicle dashboards using the built-in Dashboard Editor.
1 Introduction
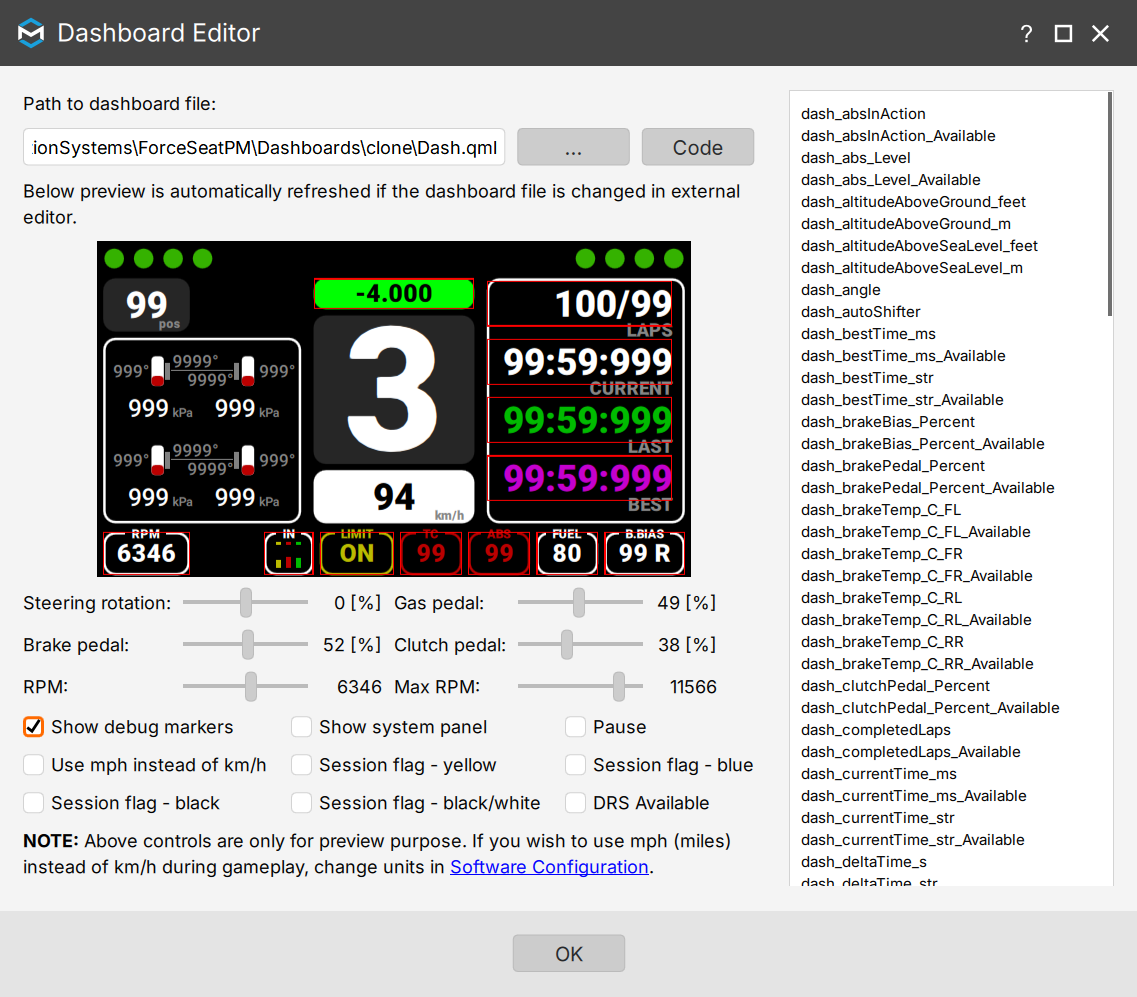
Dashboard is a QML file that defines look and feel using Qt Quick components (Qt Qt) and Javascript functions. The QML file can be opened and edited in Visual Studio Code (with QML extension installed) or in simple notepad. QML is much more user friendly and easier in use than HTML 5.0/Javascript, which combined with full set of Qt Quick features allows to make rich and responsive dashboards with minimal effort.
2 Creating dashboard project
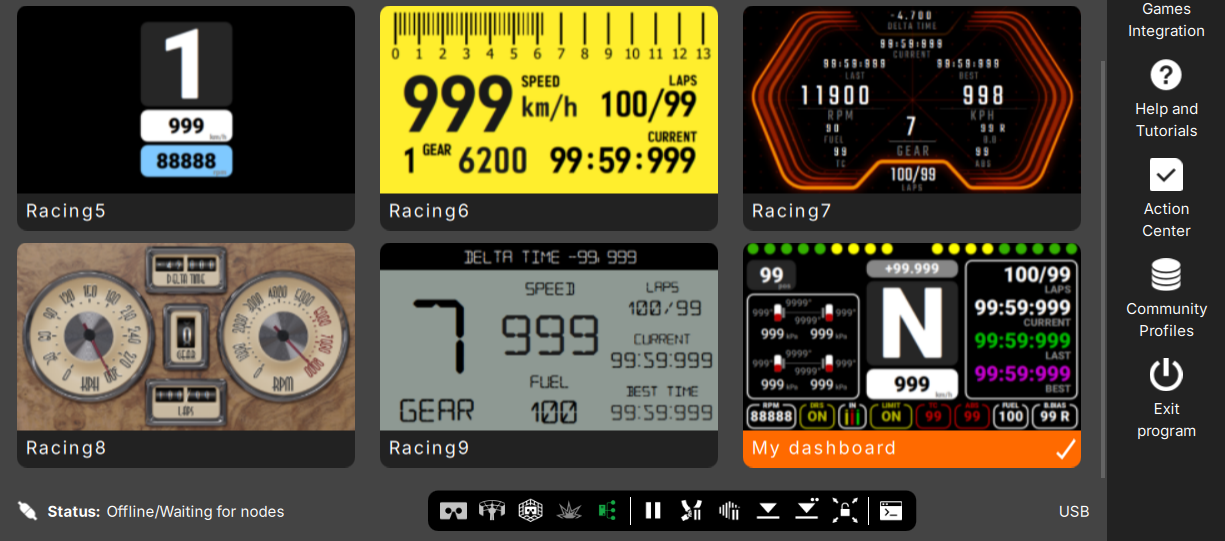
The best way to start is to clone one of existing dashboards:
- Open ForceSeatPM
- Switch to Dashboard view
- Click on the dashboard you wish to use as a source
- Click Clone and enter a new name
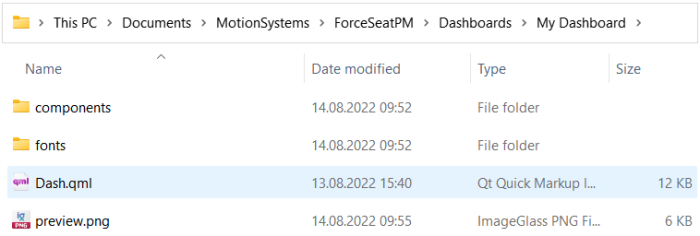
The new dashboard will be saved in Documents\MotionSystems\ForceSeatPM directory.
3 Editing dashboard
You can activate the dashboard, run the game and edit the dashboard using telemetry data to verify operation. Alternatively, you can use Dashboard Editor that feeds the dashboard with mockup data. In both cases, the dashboard is automatically reloaded when change in Dash.qml file is detected.
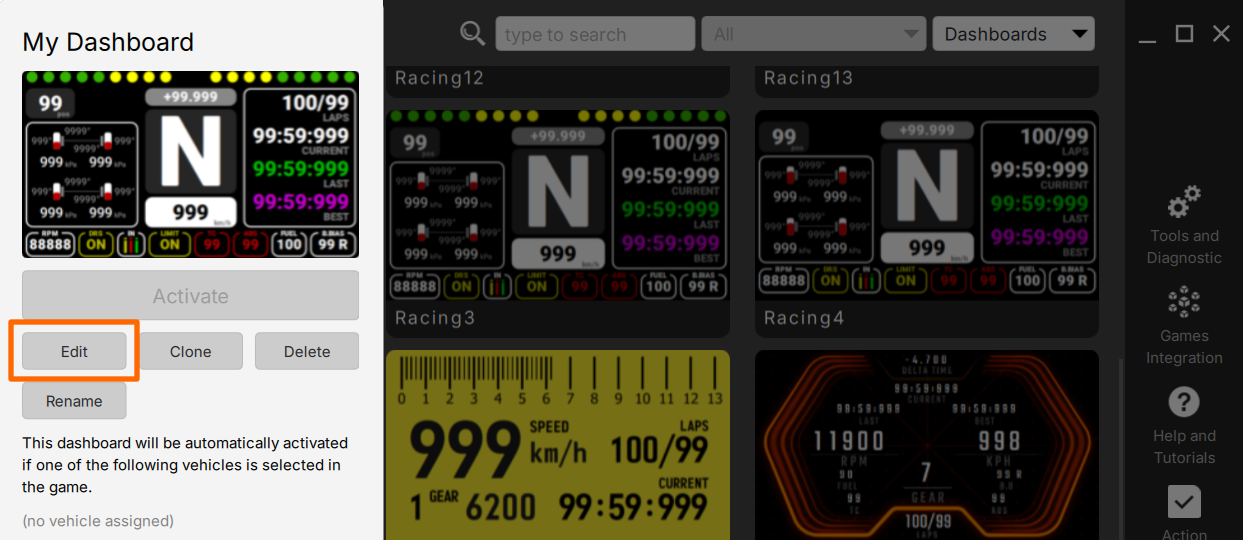
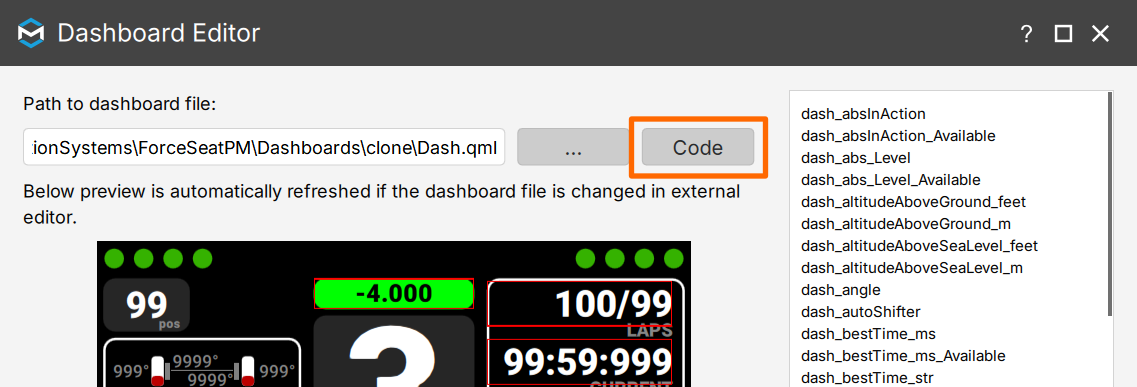
Switch to Dashboard view, click on the dashboard you wish to edit, then click Edit which will open Dashboard Editor and automatically load the selected dashboard project. Next click Code to open Visual Studio Code.
If you wish to use Visual Studio code as dashboard editor, then:
1. Make sure that Visual Studio Code is installed.
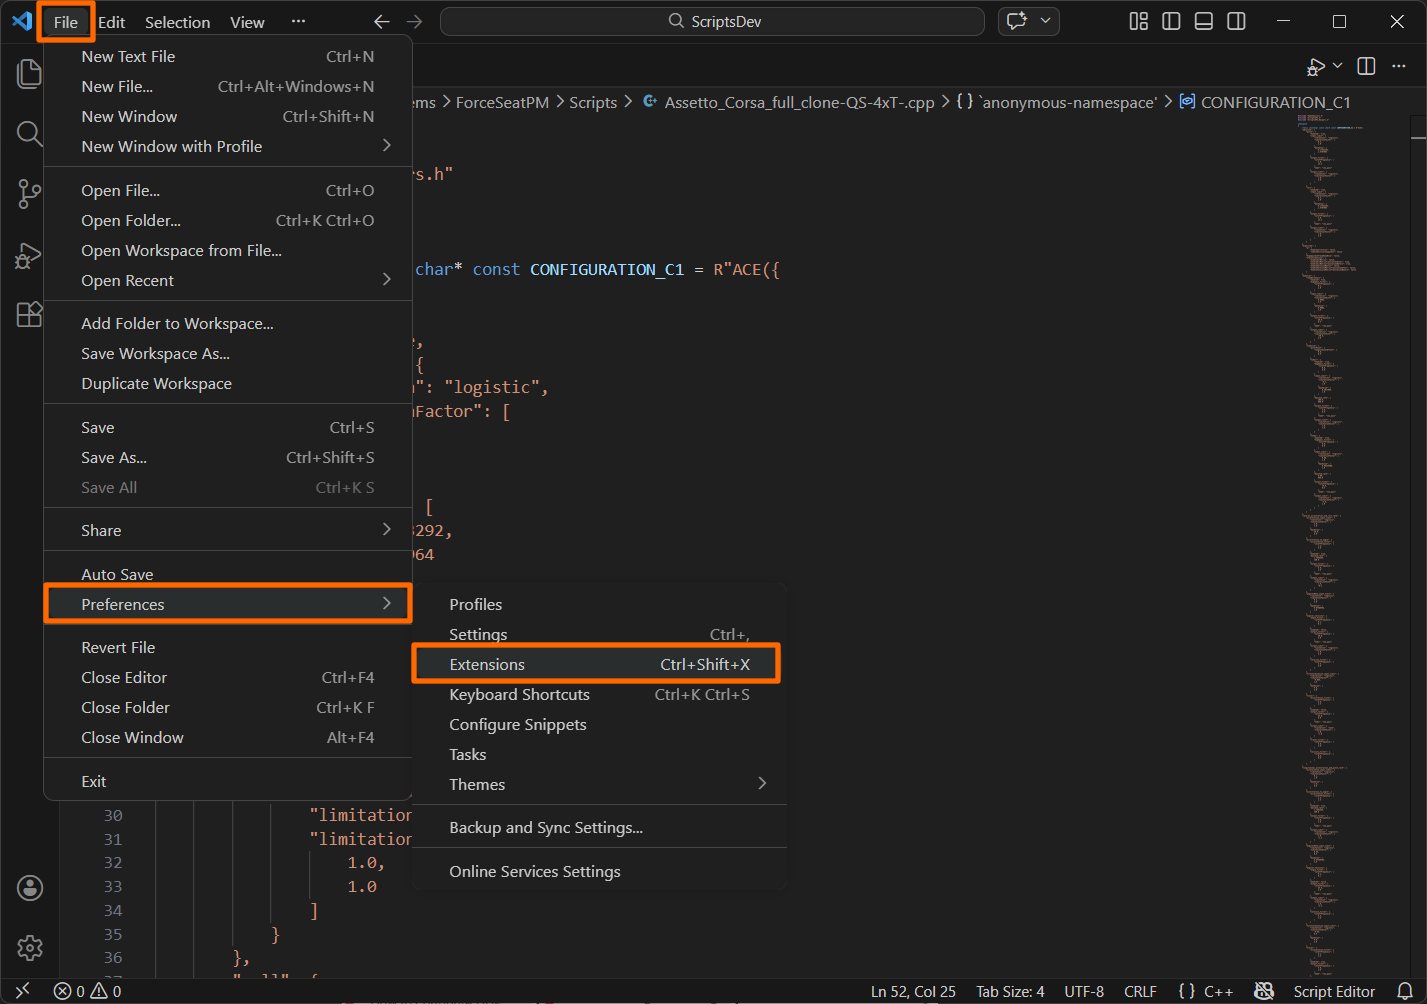
2. Start the Visual Studio Code, go to File, Preferences, Extensions and install QML extension.
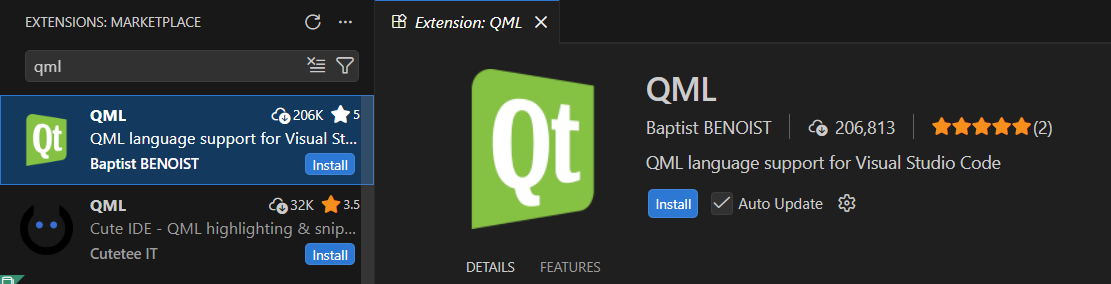
3. Wait until the extension and all dependencies are installed and then close the program.
4. Go to Dashboard Editor and click Code.
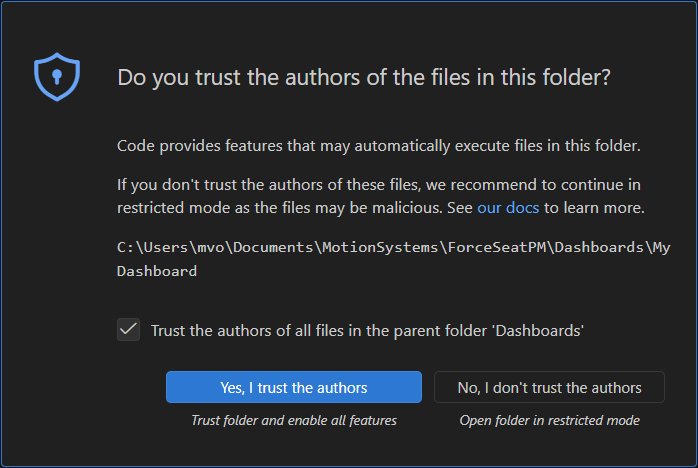
5. Allow VSC to trust the dashboard related files and folders.
4 Simple dashboard example
The exemplary dashboard displays current gear, current speed and RPM.
If you are looking for more advanced examples, please check sources of Racing3 dashboard.
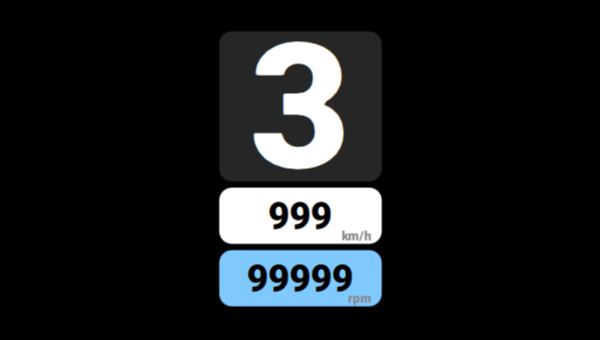
The QML code for the dashboard is as follows:
import QtQml 2.15import QtQuick 2.15 Rectangle { id: __root FontLoader { // load custom font from 'fonts' directory id: __font3 source: "fonts/Roboto-Black.ttf" } color: "#000000" // background color // USBD480's default resolution is 480x271 but the dashboard // is automatically scaled to match display resolution. // Since it is a vector graphics, no quality is lost. width: 480 height: 271 Rectangle { id: __currentGear x: (__root.width - width) / 2 // center on screen y: 25 width: 130 height: 120 color: "#262626" radius: 10 Text { anchors.centerIn: parent font.pixelSize: 140 font.family: __font3.name // dash_gear_str is already formatted current gear (N, R, 1, ...) // which is pretty convenient. If you wish to get raw gear number // (-1, 0, 1, ...), then use dash_gear instead of dash_gear_str. text: dash_gear_str color: "#FFFFFF" } } Rectangle { x: __currentGear.x y: 150 width: __currentGear.width height: 45 color: "#FFFFFF" radius: 10 Text { anchors.centerIn: parent // display speed depending on the selected unit text: dash_useMph ? dash_speed_mph : dash_speed_kmh font.pixelSize: 30 font.family: __font3.name color: "#000000" } Text { // position the label in the right bottom area of the rectangle anchors.right: parent.right anchors.rightMargin: 8 anchors.bottom: parent.bottom text: dash_useMph ? "mph" : "km/h" font.pixelSize: 10 font.family: __font3.name color: "#878787" } } Rectangle { x: __currentGear.x y: 200 width: __currentGear.width height: 45 color: "#7FC9FF" radius: 10 Text { anchors.centerIn: parent text: dash_rpm font.pixelSize: 30 font.family: __font3.name color: "#000000" } Text { // position the label in the right bottom area of the rectangle anchors.right: parent.right anchors.rightMargin: 8 anchors.bottom: parent.bottom text: "rpm" font.pixelSize: 10 font.family: __font3.name color: "#878787" } }}